DIY Christmas Decorations the Whole Family Can Make
What you'll need
- All-purpose flour and table salt (for salt dough)
- 3–4 navel oranges
- Baking sheets, parchment paper and a wire rack
- Jute twine or cotton string
- Plain white paper or kraft paper
- Unfinished wood beads
- Washable acrylic craft paint and small brushes
- Pinecones and cinnamon sticks
- Clear matte sealer spray (adults only)
- Scissors, a straw and a hole punch
Tap items to check them off — we'll remember your list on this device.
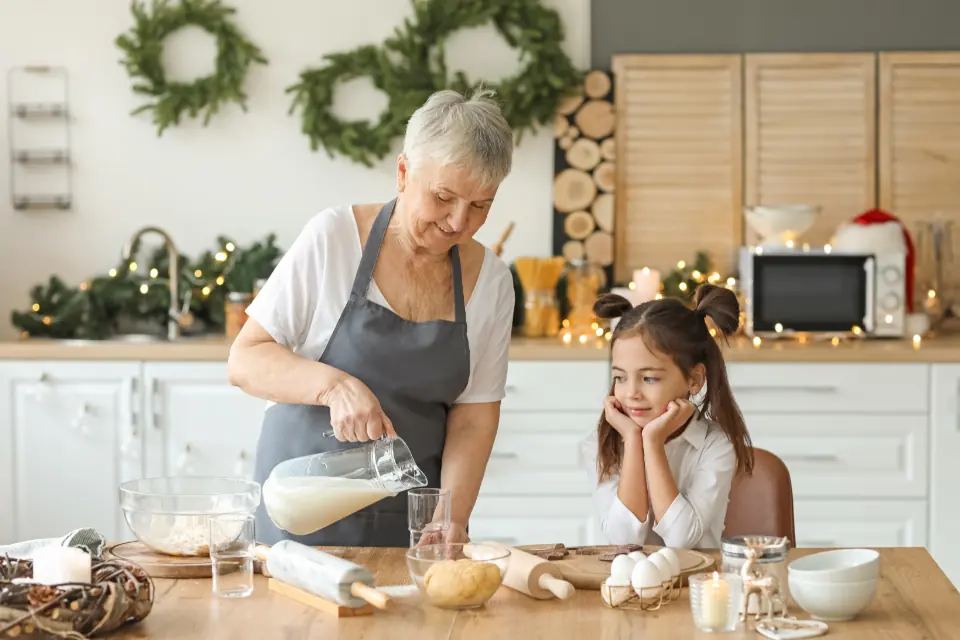
Some of our favorite holiday memories did not come from a store at all. They came from a kitchen table covered in flour, a warm oven full of orange slices and little hands proudly hanging a slightly lopsided star on the tree. These DIY Christmas decorations are simple, budget-friendly and genuinely fun to make together, whether you have one free afternoon or a whole snowy weekend.
Everything below uses inexpensive pantry staples, paper, string and a few craft basics. Mix and match the ideas to create a cohesive look, or let each family member pick a project and see what happens. Either way, you will end up with decor that means something.
Plan Your DIY Christmas Decorations First
A tiny bit of planning keeps holiday crafting fun instead of frantic. Before you buy anything, walk through your house and decide where homemade pieces will go: the tree, the mantel, a doorway, the dining table or the front door.
- Pick a simple palette. Natural tones like kraft, white, green and orange look cohesive with almost anything. Our color palette generator can help if you want something bolder.
- Choose two or three projects. Repeating a few handmade elements looks more intentional than ten different crafts.
- Match projects to ages. Toddlers can stamp and paint; older kids can thread garland and cut snowflakes.
Classic Salt Dough Ornaments
Salt dough is the original budget ornament, and it is perfect for handprints, cookie-cutter shapes and keepsakes with the year pressed in.
- Mix 1 cup all-purpose flour and 1/2 cup salt in a bowl.
- Add about 1/2 cup warm water a little at a time, kneading until the dough is smooth and not sticky.
- Roll it about 1/4 inch thick on parchment and cut shapes with cookie cutters.
- Poke a hanging hole near the top with a straw.
- Bake at about 200–250°F for 2–3 hours, flipping halfway, until completely hard and dry. Thicker pieces take longer.
- Cool fully, then paint with acrylic craft paint. An adult can finish with a clear sealer in a well-ventilated area to help the ornaments last.
Safety note: Salt dough is not edible, and the high salt content can be dangerous for dogs and cats. Keep raw dough and finished ornaments where pets cannot chew them.
Dried Orange Slice Garland
Dried oranges glow like stained glass when the tree lights hit them, and your house will smell wonderful while they bake.
- Slice oranges into rounds about 1/4 inch thick. Thinner, even slices dry faster.
- Blot both sides well with a clean towel to remove extra juice.
- Arrange on a parchment-lined baking sheet or a wire rack set on a sheet.
- Bake at about 200°F for 3–4 hours, flipping every hour, until dry to the touch and no longer tacky. Let them finish air-drying overnight.
- Thread onto twine, alternating with cinnamon sticks, wood beads or small pinecones.
Keep dried fruit garland away from candles, fireplaces and space heaters, since it is dry and can burn easily.
Paper Stars and Snowflakes
Paper is the most affordable decor material there is, and it is surprisingly elegant when you keep the colors simple. White printer paper, kraft paper or old book pages all work.
Classic Snowflakes
Fold a square of paper in half diagonally, then in half twice more to make a narrow wedge. Snip shapes along the edges, unfold and press flat under a heavy book. Hang them in windows with a loop of thread or a dab of removable tape.
Folded Paper Stars
Older kids can fold strips into puffy lucky stars or layer two cut-out stars with a slit in each to make a 3D star that stands on a shelf. Group several in different sizes along the mantel for big impact with almost no cost.
Natural and Wood Bead Accents
A walk around the neighborhood can supply half your decor. Pinecones, fallen evergreen trimmings and twigs add texture without spending a dime.
- Wood bead garland: String unfinished beads on jute, tying a tassel at each end. Paint a few beads red or green for a pop of color.
- Pinecone bowl: Bake foraged pinecones at about 200°F for 30–60 minutes on a foil-lined sheet to dry them out and help remove any hitchhiking bugs. Stay nearby while they bake.
- Evergreen sprigs: Tuck clippings into jars or a pitcher for an easy centerpiece. Our mason jar crafts post has more ideas for turning jars into holiday luminaries.
Love the natural look? Our DIY farmhouse wreath tutorial pairs beautifully with these accents on the front door.
Kid-Safe Decorating Tips
Homemade decor is wonderful, but busy holiday homes need a few ground rules, especially with babies and toddlers around.
- Hang breakable, small or glass ornaments on upper branches, out of reach of little ones.
- Avoid small beads, buttons and loose ornament hooks around children under three, since they are choking hazards.
- Hot glue guns, ovens and spray sealers are adult jobs. Low-temperature glue guns are a good middle step for older kids with supervision.
- Use LED string lights and battery tea lights near paper and dried decorations.
- Anchor any tall tree or shelf so curious climbers cannot tip it over.
Make It a Family Tradition
The best part of DIY Christmas decorations is that they grow with your family. Add one new handmade ornament each year, write the date on the back and you will have a tree full of memories in no time. When the holidays wrap up, gift extra ornaments to grandparents or teachers. For more cozy projects to fill your season, browse our DIYs for moms collection or try a batch of homemade soy candles for gifting.
Frequently asked questions
How long do salt dough ornaments last?
When baked until completely dry and sealed, salt dough ornaments can last for many years. Store them in a cool, dry place, because humidity can soften them over time.
Can I dry orange slices without an oven?
Yes, you can air-dry thin slices on a rack in a warm, dry spot, but it can take a week or more. A food dehydrator also works well and frees up your oven.
What are the easiest DIY Christmas decorations for toddlers?
Painting salt dough shapes, stamping paper with sponges and gluing cotton balls onto paper snowmen are great for toddlers. Always supervise closely and skip tiny parts that could be a choking hazard.