Beginner Sewing Projects That Make Your Home More Organized
What you'll need
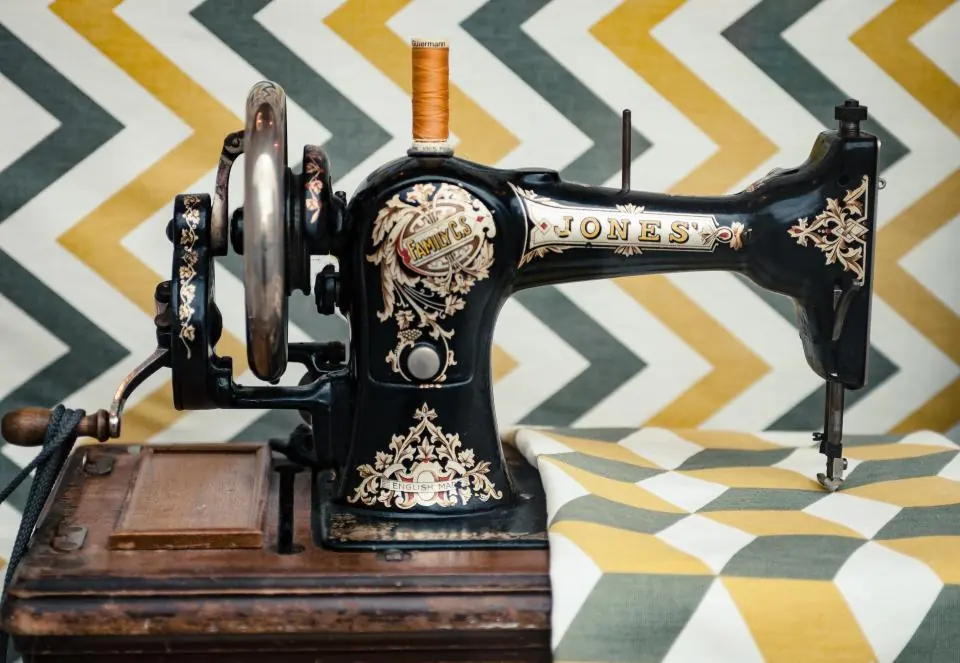
- Sewing machine with a universal 80/12 needle
- All-purpose polyester thread
- Quilting-weight cotton or medium-weight canvas
- Sharp fabric scissors or a rotary cutter and mat
- Clear ruler and measuring tape
- Straight pins or sewing clips
- Iron and ironing board
- Seam ripper
- Cotton cord or ribbon (for drawstring bags)
Tap items to check them off — we'll remember your list on this device.
Learning to sew can feel intimidating, but the best first projects are simple squares and rectangles, and they happen to be incredibly useful around the house. These beginner sewing projects will help you practice straight seams, hems and corners while making things your family will actually use, like napkins for the dinner table and bags to corral toys.
All you need is a basic sewing machine, some cotton fabric and an afternoon. Each project builds on the one before, so by the end you will feel comfortable at the machine and have a more organized home to show for it.
Sewing Basics to Know First
A few fundamentals make every project easier:
- Prewash your fabric. Cotton can shrink, so wash and dry it the way you will wash the finished piece.
- Press as you go. Ironing seams and hems makes everything look crisp and helps you sew straighter.
- Know your seam allowance. This is the distance from the fabric edge to your stitching line. We use 1/2 inch for these projects. Most machines have guide lines on the throat plate.
- Backstitch. Sew a few stitches in reverse at the start and end of each seam to lock the thread.
- Use the right needle. A universal 80/12 needle works well for quilting cotton. Go up to a 90/14 for canvas.
Project 1: Simple Cloth Napkins
Napkins are the perfect first project: one square, four hems and done. They cut down on paper waste, too.
- Cut a 19 x 19 inch square of cotton for each napkin.
- Fold one edge 1/4 inch toward the wrong side and press. Fold another 1/4 inch and press again to hide the raw edge. Repeat on all four sides.
- Pin or clip the hems in place.
- Stitch close to the inner folded edge all the way around, pivoting at each corner with the needle down.
- Press once more. Your finished napkin will be about 18 x 18 inches.
Project 2: Envelope Pillow Cover
An envelope cover has no zipper, so it is a beginner favorite. It is also a budget-friendly way to refresh a room each season, much like the ideas in our easy DIY home decor ideas on a budget post.
For an 18 inch pillow form, cut:
- One front piece: 19 x 19 inches
- Two back pieces: 19 x 13 inches each
- On one long edge of each back piece, fold 1/2 inch, press, then fold another 1/2 inch and press. Stitch the hem.
- Lay the front piece right side up.
- Place one back piece on top, right side down, lining up the raw edges with the top. Place the second back piece right side down, lined up with the bottom. The hemmed edges will overlap in the middle by about 5 inches.
- Pin all the way around and sew with a 1/2 inch seam allowance.
- Clip the corners close to the stitching without cutting through it.
- Turn right side out through the opening, poke out the corners gently and press. Slip in your pillow form.
Pick fabric colors that tie your space together. Our color palette generator is handy for that.
Project 3: Drawstring Storage Bags
Drawstring bags are an organizing workhorse: building blocks, travel toiletries, shoes in a suitcase or a library-book bag for each kid.
- Cut two rectangles, 12 x 15 inches each, for a medium bag.
- Place them right sides together and sew down both sides and across the bottom with a 1/2 inch seam, stopping each side seam about 2 1/2 inches from the top. Backstitch well.
- Press the seam allowances open along the unsewn top section and stitch them down to make neat openings.
- Fold the top edge 1/2 inch, then another 1 1/4 inches to form a casing. Stitch along the lower fold on each side.
- Thread cord through the casing using a safety pin and knot the ends.
Safety note: Keep drawstring bags and cords away from babies and toddlers, and never hang them on cribs or near sleeping areas, as cords can be a strangulation hazard.
Project 4: Soft Fabric Storage Bins
Once you are comfortable, try a fabric bin with boxed corners. Use canvas or cotton backed with fusible interfacing so it stands up on a shelf.
- Cut an outer and a lining rectangle, each 16 x 24 inches. Fuse interfacing to the outer piece.
- Fold each in half, right sides together, to 16 x 12 inches. Sew both sides with a 1/2 inch seam.
- Box the corners: flatten each bottom corner into a triangle with the seam centered, mark a line 2 inches from the tip, and sew across it. Trim the excess.
- Turn the outer right side out and slip it inside the lining, right sides together. Sew around the top, leaving a 4 inch gap.
- Turn through the gap, tuck the lining inside, press and topstitch around the rim to close the gap.
These bins pair perfectly with the systems in our DIY organization ideas for busy moms.
Beyond Beginner Sewing Projects
After these beginner sewing projects, you will be ready for zipper pouches, simple aprons and tote bags. Sewn pieces also make lovely gifts, so check out our DIY Mother's Day gifts for more ideas.
Frequently asked questions
What is the easiest thing to sew for a beginner?
Cloth napkins are one of the easiest first projects because they are just squares with hemmed edges. They help you practice straight stitching and turning corners.
What fabric is best for beginner sewing projects?
Quilting-weight cotton is ideal because it is stable, easy to cut and presses well. Avoid slippery or stretchy fabrics until you feel more confident.
Do I need to prewash fabric before sewing?
Yes, for anything you plan to wash later. Prewashing removes sizing and prevents the finished project from shrinking or puckering after the first wash.